
D.I.Y. Applying Henna
The cultural significance and application of this social media craze
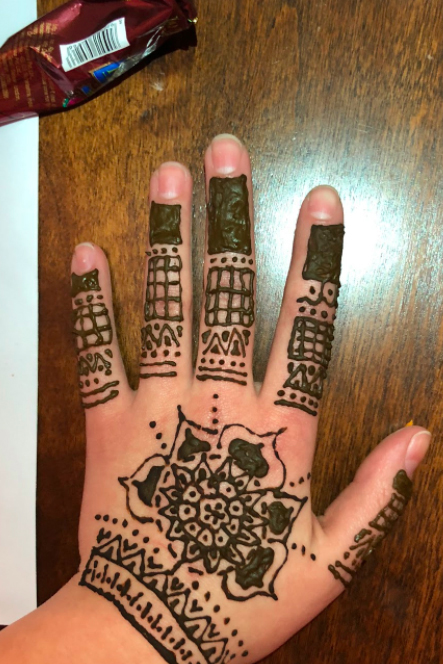
Sonia Baig applies free-styled henna design.
March 14, 2018
Whether you’ve seen artsy henna pictures on social media, or your family has been applying it for religious celebrations for as long as you can remember, it’s common to know about henna from some place or another. While often called henna in America, it’s often called mehndi in other parts of the world ranging from Africa to the Middle East. Henna is often used during weddings, holidays, and religious occasions. However, henna is also big part of festival culture especially in Minnesota summers, and quite frankly, it just looks really cool.
Although you can get henna done at many events and festivals, most people don’t realize that it’s quite easy to purchase on Amazon or at an ethnic grocery store for a relatively low price to do yourself or with friends. Though it can seem intimidating at first, applying henna is actually simple and easy to learn. You can either copy a pattern that you find on the internet, or create your own, improvising as you go.
- Purchase henna in a cone, not a powder (powders are much harder to use). Henna is easiest to purchase from Amazon.
- Take the pin out of the tip of the applicator cone. Be sure to save this pin for later so that when you are done using the henna you can put it back in and save the tube to reuse later.
- Test out the henna on a scrap piece of paper to make sure its flowing correctly before you use it on your subject or yourself! To make the henna come out of the tube, squeeze from the middle/top of the cone with one hand and use your other hand to direct and stabilize the tip so you can design your beautiful patterns.
- Start applying! Look online for inspiration or trust yourself and just improvise. A standard template we like to follow is making patterns in a cuff shape on the wrist, then making a flowery shape in the middle of the hand, and lastly designing patterns on all the fingers. Then, you can connect these three parts together with lines and dots for a basic henna design. You can see this in the time lapse below of us improvising a pattern.
- After you’ve finished making your design, let the henna dry until it is hardened and crust like so you can peel it off to reveal your patterns. Generally the longer you leave it to sit on the hand, the darker it will be.
- After you’ve let the henna harden for your desired amount of time, wash off the henna and you will be able to see your pattern transferred to your or your subject’s skin! You might need to scrape it off as it can be sometimes hard to remove, but doing so under running water helps a lot.
- Enjoy! The pattern should stay for about a week and fade away gradually.