How to Carve a Pumpkin
Pick a design and have some fun!
Step 1: You need to find the perfect pumpkin. I found this pumpkin at Cub Foods in Knollwood mall for $4.99. Others prefer a pumpkin patch, but either way, you have to find the pumpkin that speaks to you. Personally, the stem of my pumpkin spoke to me. After the cashier at Cub Foods asked me what my pumpkin’s name was, I decided that we would call him Nemo.
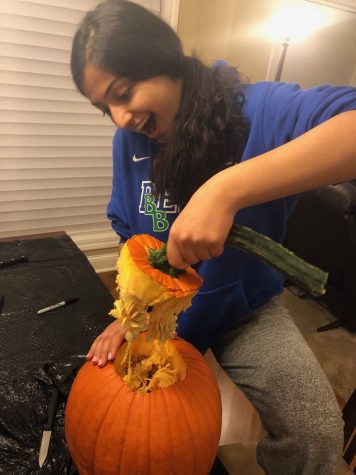
Step 2: Removing the top of the pumpkin. This was by far the hardest part because I didn’t know what knife to use. After trying out a meat knife, a steak knife, and a small dagger-type knife, I realized that the latter was the way to go. I thought that cutting out a circle around the stem was all I had to do for this step, but actually pulling the top off proved to be the most difficult.
Step 3: Scoop out the insides. I used my hands at first, but to get the rest of it out, I used a large serving spoon.
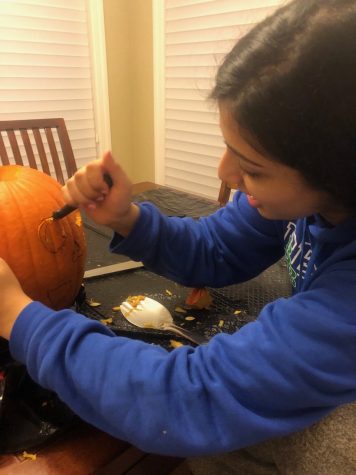
Step 3: Draw out your design. I chose this design, so I traced it out on the pumpkin with a black sharpie.
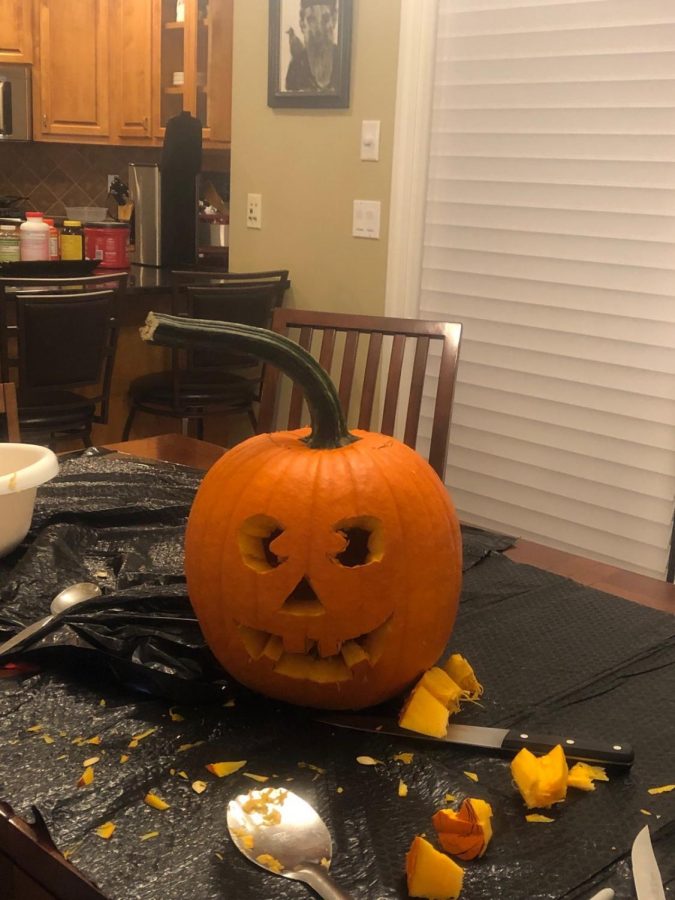
Step 4: Carve! The right eye was the first thing I carved and it’s pretty clear that I didn’t know what I was doing. But from there, it got a lot easier. The nose was definitely the easiest because it is only straight lines.

Hey! I’m Noor, I’m a senior, this is my second semester as an Editor-in-Chief, and I'm currently a features editor. I've edited News, Sports, Sci-tech,...